I’m heading to the ocean side today to visit the Wetlands Institute for their Wings And Water Festival. They’re revamping the programs this year, so I’m hoping to take some nice photographs and see some amazing creatures. Before I leave I wanted to share the promised work in progress snap shots for Maxey and talk a little about how I created her.
I started by felting together the rough body and head form in a white core wool fiber. It looks a bit like a duck in this state! Quack.

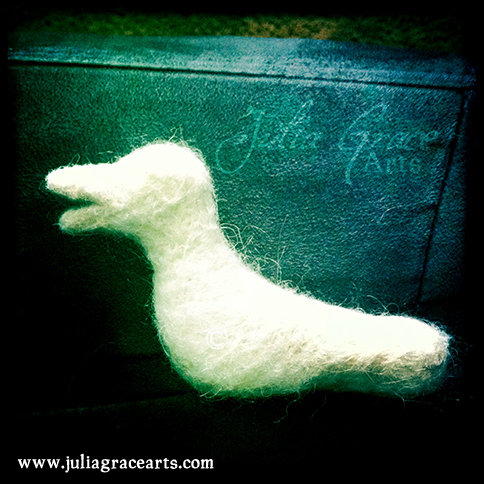
Next, I added and shaped the back legs. I could have turned her into a tyrannosaurs if I’d wanted to. I love how flexible wool sculpting is.

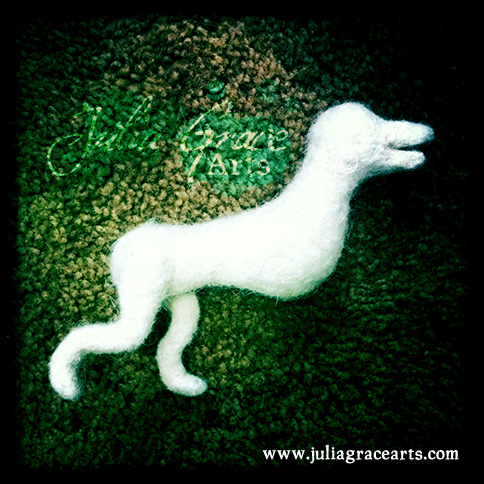
This photo is actually from a wolf I am working on, but I wanted to show how I add the legs. I first felted long cylinders of wool that were loose at one end. Then I attach them to the body, then felt them into shape, adding more fleece for the thicker thighs and shoulders.

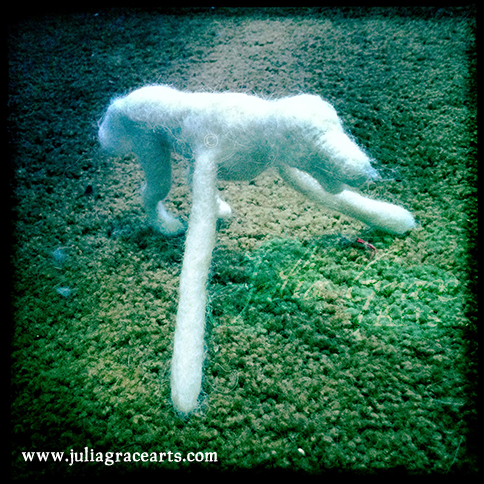
Here you can see all the legs shaped and Maxey can finally stand up properly.

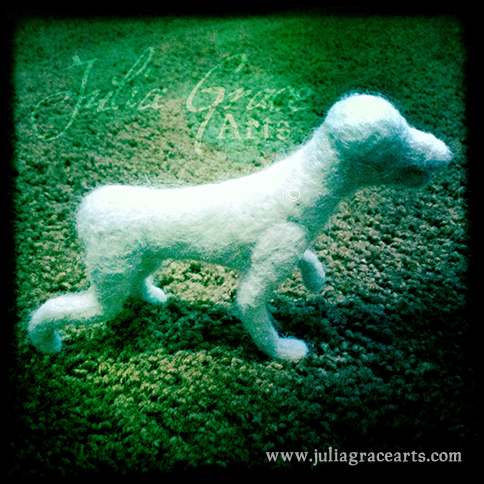
Here is the other side. There is absolutely no wire used. I do however have a glass marble tucked in the rear as a counter balance. This allows her to stand with one raised paw. I am looking for something better than a marble to use though. I need something small and heavy (and heavy is relative terms, something 6 grams and up will work). The smaller the better so it won’t interfere with the needling and it can’t be lead. Any ideas?

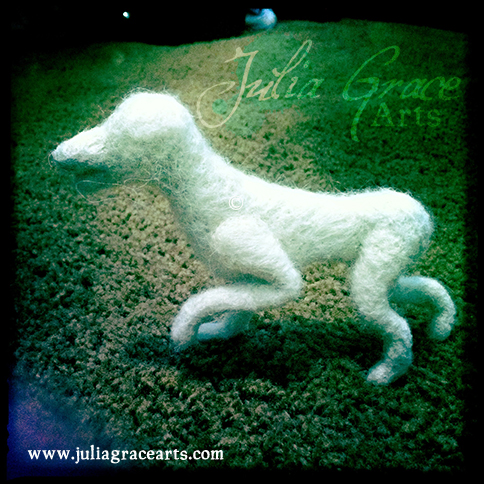
Next I refined the head shape, added ears, tail, tongue, nose, and eye sockets with sewn in seed bead eyes. I also began blocking in the coloring and added her special freckles.

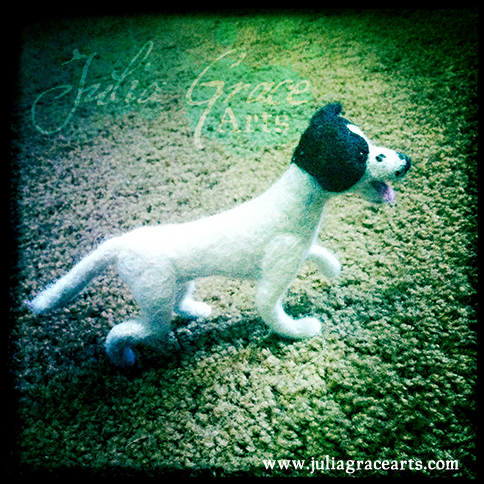
Here is a close up of her sweet little face. I love her freckle pattern.

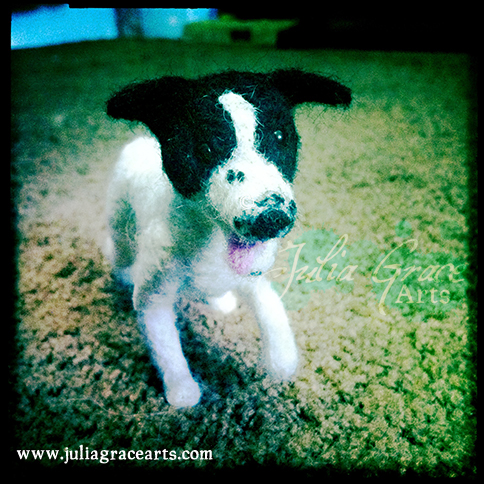
Here you can see I’ve blocked in the rest of the body coloring

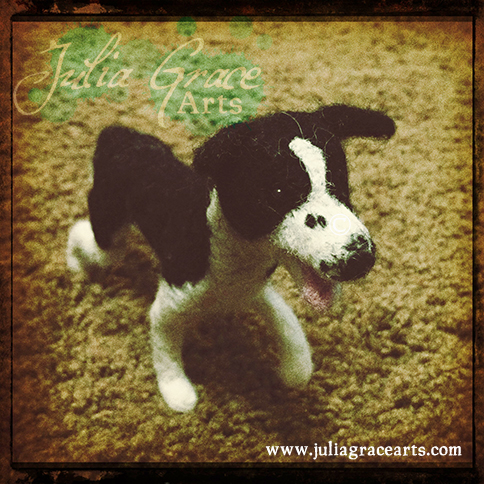
Another view of the blocked in coloring.

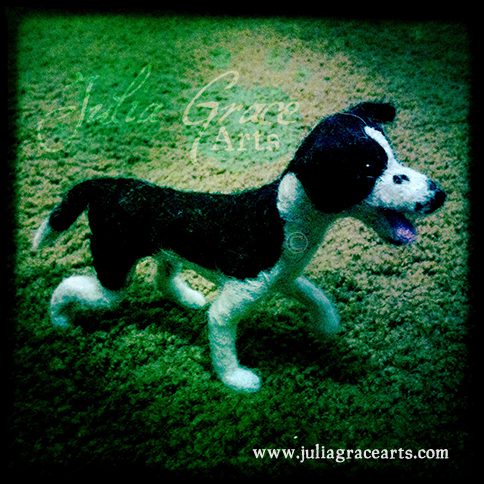
Now begins the really hard part, the furring! This was my first time creating a long-haired animal. I learned a lot, though at times it was really frustrating. I think I need to take some dog grooming lessons so I can trim fur better next time!

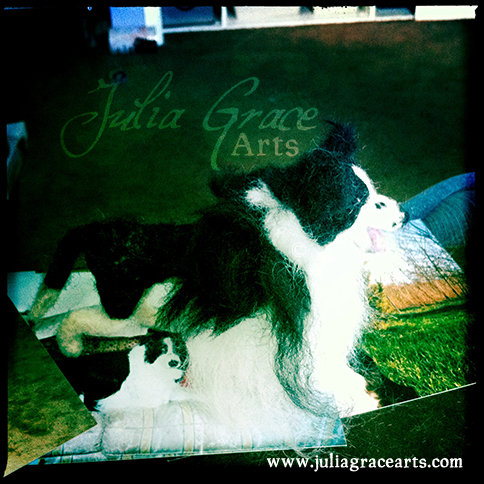
I start out with super long poofy fur, that I felt into the body form one little section at a time.

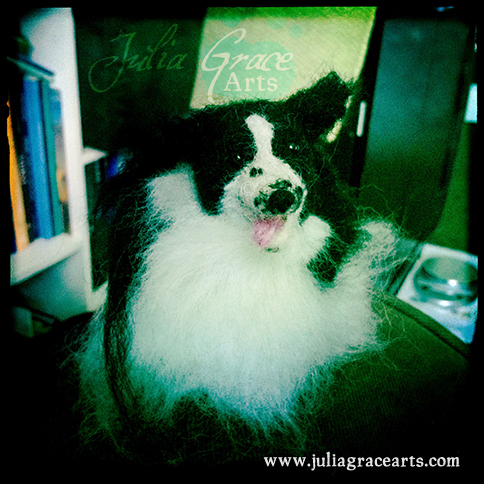
Then I would trim the fur and brush it with a carding brush (aka a cat’s brush). Wash, Rinse, Repeat until she has all her fur. I felt very sturdy bodies and felt the fur in as firmly as I possibly can because I want it to stay in even with handling and play, however I don’t recommend my clients brush my wool sculptures once they are finished since if you do it for a long time the piece will eventually go bald.

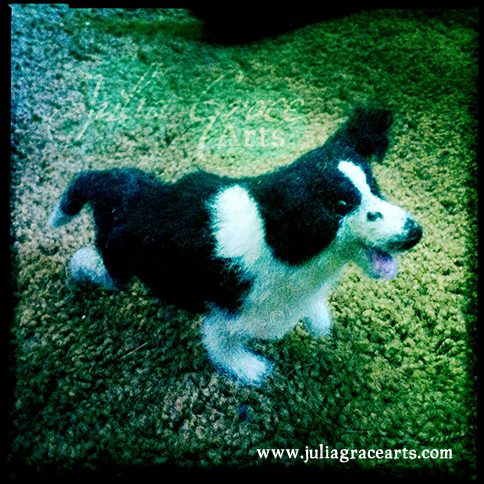
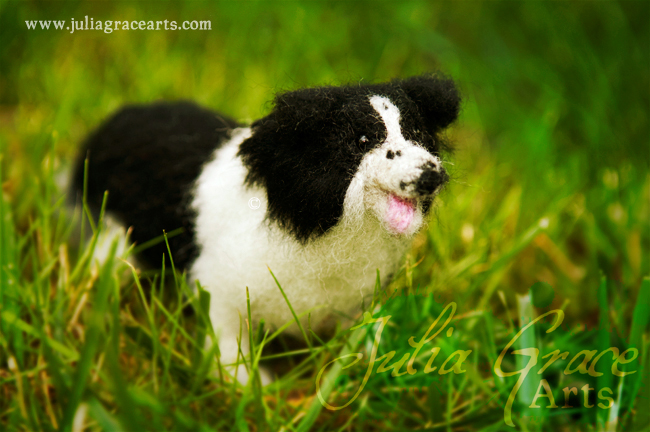
Eventually, she was completely furred and finished! Voila!

Have a wonderful weekend everybody.
– Joules


